5 Top Picks: The Best Shampoo for Kids for Happy, Healthy Hair
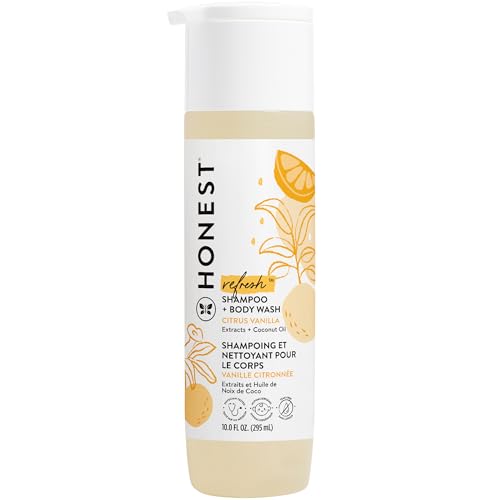
Choosing the best shampoo for kids can feel like a mission, right? You want something that cleans effectively, is gentle on their delicate skin and hair, and ideally, makes bath time a little less of a battle. Forget the tears and tangled hair woes! The right kid-friendly shampoo can turn a dreaded chore into a … Read more